Setting Up MySQL and phpMyAdmin in Debian with Docker🐳

Introduction 🚀
This guide provides step-by-step instructions on running a MySQL container in Linux OS and connecting it to a phpMyAdmin container, both running within Docker. This allows you to manage your MySQL databases seamlessly.
Why Docker?
If you're not yet acquainted with the transformative power of Docker, check out my blog about containers 👉here (opens in a new tab). It's a primer on the game-changing technology that's reshaping how we deploy and manage applications.
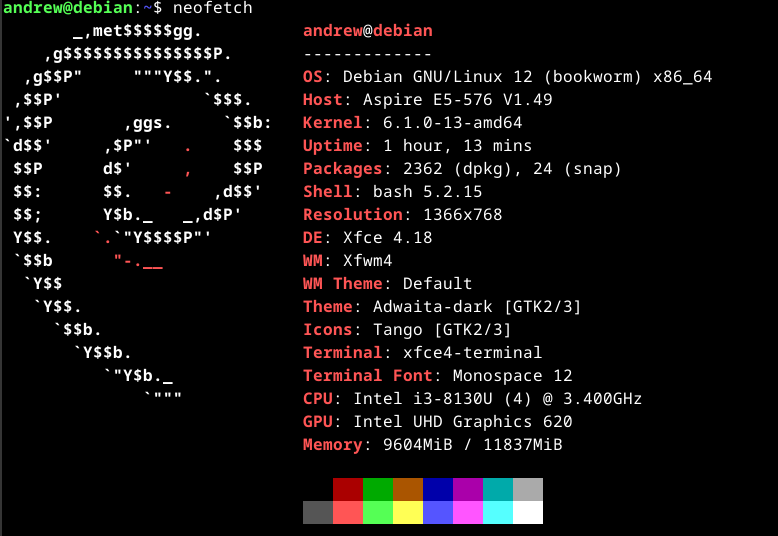
My OS

Part 1: MySQL Container Setup
Pull MySQL Docker Image:
docker pull mysql:tagReplace 'tag' with the desired version of MySQL, such as 'latest' for the latest version.
Run MySQL Container:
docker run --name mysql-container -d -p 3306:3306 -e MYSQL_ROOT_PASSWORD=my-secret-pw mysql:tagReplace 'tag' with the version of MySQL you pulled in the previous step. Ensure consistency in container names and port mappings.
Part 2: phpMyAdmin Container Setup
Create a Docker Network:
docker network create my-networkRun MySQL Container with phpMyAdmin:
docker run -d \
  --name phpmyadmin-container \
  --network my-network \
  -e PMA_HOST=mysql-container \
  -e PMA_PORT=3306 \
  -p 8080:80 \
  phpmyadmin/phpmyadmin:latest
Replace 'tag' with the version of MySQL you pulled in the previous step. Ensure consistency in container names and port mappings.
This command links phpMyAdmin to the MySQL container and exposes port 8080 on the host.
Access phpMyAdmin:
Visit http://localhost:8080 (opens in a new tab) in your web browser. Log in using the MySQL root username and password.
Conclusion 🎉
You've successfully set up a MySQL container and connected it to phpMyAdmin in a Dockerized environment on Debian. Enjoy managing your MySQL databases with ease!
Sources 📚
- MySQL Docker Image: Docker Hub - MySQL (opens in a new tab)
- phpMyAdmin Docker Image: Docker Hub - phpMyAdmin (opens in a new tab)